Tuesday, 29 January 2013

DIY Camera Tripod Modification For Macro Photography

When out capturing photos for my JesterBushcraft Youtube Channel and Blog, a good portion of those images are of fungi, wild flowers and insects. Which the majority of the time are taken low to the ground.

This usually entails, me led on the floor in the wet grass, trying to keep the camera as still as possible, whilst maintaining the required angle of shot.

Yes, it would be advantageous to use my tripod, but the one I have doesn't have the capability to take shots at low level to the ground.

Taking photos of subjects, such as fungi, from these types of angle can add to the look and feel of the image. So I think its worth the additional time and effort to make the photo look more interesting and appealing to the viewer.

Now there are of course tripods on the market that cater for this application of camera work, such as the Hama Traveller Compact Pro Tripod , but at present I am not in a position to spend any spare cash on a new tripod.

My current tripod, that I use most of the time, won't let me take shots low enough to the ground for what I need. But I do have an old tripod (See Image Right) that is quite short when completely collapsed down. But even this isn't quite at the level I would like to be for the required image.

Having looked at the mechanics of this old tripod, I noticed that the pivot points of each leg were governed by the moulded collar that housed the legs.

So with the Dremel Hobby 300 Series Tool in hand, spent no more than 20mins extending the pivot point channels. this allowed each leg to then open out that little bit further, until they were resting on the actual collar of the tripod.

Yes, I know what you're thinking...

it's not pretty, but nobody's going to see it and it functions just as I wanted it to.

This modification, was actually a lot easier and quicker than I thought to manufacture and the final outcome was great. With the legs extended out, the tripod sat very firmly and stable too, which is just what you want when taking macro images. Even with the weight of the camera, which in my case is a Fujifilm Finepix S9500, the tripod still stood firm, without any flex or strain on the leg pivot points.
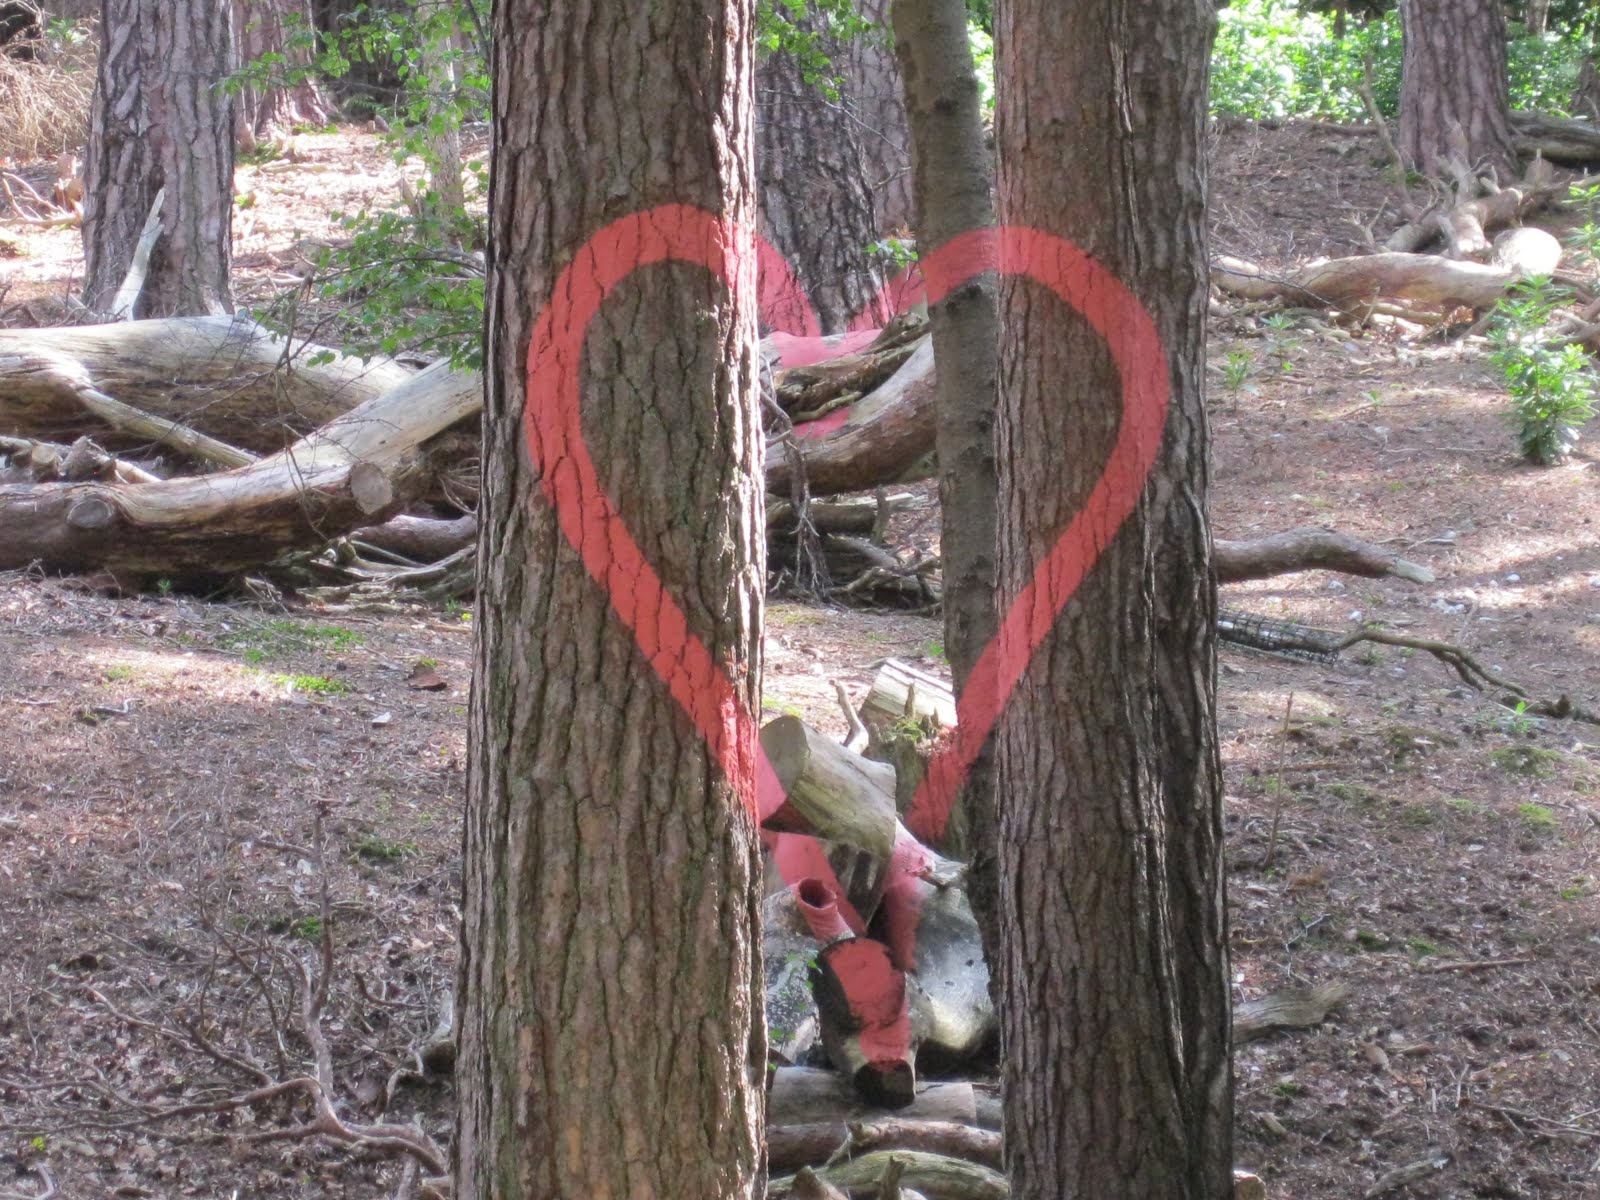
With this low cost and simple modification, the overall height of the camera position has been considerably lowered, allowing me to now take the sort of pictures, I managed to capture opposite.
But without the hassle of lying on the ground, trying to hold the camera at the appropriate angle and with a steady hand.
I will now use this modified tripod, in conjunction with my newly purchased remote shutter release cable, to hopefully capture some great macro images. I would appreciate any comments on this article and welcome any feedback you may have.

Please also subscribe to keep updated with future posts. Thank You.

Monday, 28 January 2013

Are The Guy's At Handy Hammocks Listening To Their Customers ?

How many times have you purchased a product, then thought "This could be designed better" or "Why don't they do this to make it easier to use"

I think a lot of us have been in that situation before. But how many of you actually take it one step further and contact the company, to suggest design changes or ways to improve the overall functionallity of the product.

I dare say, some of you will have tried this at some point too, but I bet not many of you ever got a response from the company. Or better still, your ideas were actually acted upon and the product design was altered.

So what about the guy's at Handy Hammocks, brothers Jason and Mark Andrews. How have they responded to the feedback from their customers ?

Since the launch of their innovative self-supporting hammock, towards the back end of 2012, there has been much talk of the design and numerous comments about the concept. Understandbly there have been a few raised eyebrows amongst the traditional hammock campers, but also considerable praise and encouragement. Non more so, than from the author of The Ultimate Hang: An Illustrated Guide To Hammock Camping , Derek Hansen, who carried out his own test of the Handy Hammock, which can be seen on his blog article "Handy Hammock Stand Review".

As you will see from Derek's review, he modifies the current setup of the Handy Hammock with a few of his own ideas, to make life that little bit easier when setting up the hammock. These modifications are simple to install, but will make your Handy Hammock experience much more enjoyable.

And what about the guys at HandyHammock.co.uk, how have they responded to this feedback. Well, they have acknowledged that the modifications are beneficial to their design and have now begun encorporating these ideas into future hammock setups.

To me, this speaks volumes about the commitment and enthusiasm that both Jason and Mark have towards the success of the worlds lightest self supporting hammock system.

Having been one of the first people to review the Handy Hammock, I dealt quite a lot with Jason and Mark, bouncing ideas of them (Most of which they had already thought of).
But to their credit they took time to listen to my ideas and comments, responding with sincere words of thanks, whilst also asking opinions on certain aspects of their product, in an attempt to improve on their design. Behaviour that is just unheard of from many other companies.

Listening to their customers can only be an advantage, getting them ever closer to their goal, to grow their UK manufacturing base and establish a home and export market. A goal, which I have no doubt they will achieve in the near future.

The guys continue to come up with new ideas and concepts. Plus subtle alterations to their hammock designs, inspired by existing customers feedback and experiences. Which can only improve on the quality and innovative nature of this exciting new product range from Handy Hammock.

I for one am looking forward to seeing how this fantastic British design develops and would like to think I played a small part in whatever success, they richly deserve.

Thursday, 17 January 2013

BCB Crusader Cup - Putting A Lid On It

Many of you involved with bushcraft, camping or backpacking will be familiar with the BCB Crusader Cook Set. Which consists of a selection of components, like the cooker/windshield, water bottle, plastic cup, metal cup and lid, making up the entire cookset.

For those people who own a Crusader Cookset, you will no doubt have your own comments and reservations about the clear plastic lid that comes with the set. And in today's post I am going to discuss the various "lid" options that are available for the BCB metal cup, along with their individual pro's and con's.

Based on personal experience, I have broken down my findings into four different categories :

(1) Budget Lid
(2) DIY or Homemade Lid
(3) BCB Plastic Lid
(4) Heavy Duty Nato Crusader Cup Boil Cover

Each of these lid types, has it's place and have their own specific advantages or disadvantages, depending on application, budget or availability.

Using any of these lids in conjunction with your BCB Crusader Mug, will improve boil times, save fuel, keep your hot drink of choice warmer for longer, whilst also keeping debris and insects from taking an early bath in your hard earned brew.

(1) Budget Lid :

This, as the name suggests is the cheapest of the four options, is readily available in most households and is very easy to manufacture. We are of course talking about the Bushcrafters, Campers and Backpackers friend, tin foil or alluminium foil.

Not only is this stuff great for use as a lid on your BCB cup, but it can also be used for a multitude of other uses, like cooking for example.

But as a lid, it is both lightweight and efficient in reducing boil times. As well as keeping your drink warm afterwards. I used a tin foil lid for quite some time on a Pattern 44 army cup, before upgrading to a BCB metal cup.

Pros : Cheap & Lightweight
Cons : Disintigrate or degrade after prolonged use, Not very robust

(2) DIY or Homemade Lid :

If after using a tin foil lid, you would like to upgrade to something a little more substantial, you could always have a go at making your own lid out of some old offcuts of aluminium or similar sheet metals.

I was lucky enough to be sent a partly made lid from one of my Youtube subscribers, which I then finished off, by shaping and cutting to size, then adding a small wooden handle.

This worked brilliantly and I got some good use out of it.

Pros : Cheap & Robust
Cons : None Really, Other Than Having To Source Materials To Make It

(3) BCB Plastic Lid :

If you purchased the BCB Cookset, this plastic lid would have come as part of the kit. Or you may have purchased the lid seperately, to accompany your current BCB metal cup.

Either way, if you have used this lid, you will no doubt have your own opinions on its good or bad points. Many points have been raised about this lid, mostly regarding how useless it is when boiling your water in the cup.

Having done this for the first time myself, I came to a similar conclusion, as the lid began to melt during boil time almost welding itself to the rim of the metal cup.

But on reflection, I think this particular design of lid is for keeping your drink warm afterwards, whilst allowing you to drink the contents of your metal cup, with the lid still in place. A little bit like the coffee cups you get from the well known outlets.

And for this reason, the BCB Crusader Cup Lid serves its purpose.

Pros : Lightweight, Robust & Custom Fit. Contents Can Be Consumed With Lid In Situ
Cons : Not Suitable For Use During Boiling Process, Prone To Melting or Cracking

(4) Heavy Duty Nato Crusader Cup Boil Cover :

Without doubt, the best custom fit lid for the metal BCB Crusader Cup is the Heavy Duty Nato Crusader Cup Boil Cover, available from Ray Mears Bushcraft.

This quality made, durable and multi purpose lid is a great addition to your BCB Crusader Cup and cookset and will give you a lifetime of use.

And with the addition of the strainer, it will assist in additional cooking capabilities, like straining pine needles or nettles when making tea etc. Plus the highly polished underside which could be used for signalling or even shaving.

Pros : Very Durable (Will last a lifetime), Built In Strainer, Polished Underside For Signalling (or shaving)
Cons : Price (although, you are only ever going to buy one of these)

Watch Demo's Of These Lids In Use Out In The Field :

Tin or Alluminium Foil Lid
DIY or Homemade Lid
BCB Plastic Lid

Friday, 11 January 2013

Brownsea Island - Where Scout Camping All Started

Where Did Your Love For The Outdoors Begin ? For Me It All Started When I Joined Cub Scouts And I Was Taught How To Make An Open Fire, Then Cook Sausages Over The Glowing Embers. But Where Did Scouting All Start ?
Well One Contributing Location Has To Be Brownsea Island. And During A Family Holiday To Dorset In August 2012 I Was Lucky Enough To Follow In The Footsteps Of Sir Baden Powell And Walk Through The Same Woodland Where This Inspirational Pioneer Would Have Passed On His Passion For The Outdoors. I Hoped To Be Able To Do Just The Same With My Young Family And Here's How We Got On...
 

Brownsea Island can be found in Poole Harbour, which is located in the county of Dorset, United Kingdom. It is the largest of the islands in the harbour and can be accessed by the Brownsea Ferry. Which is exactly what my young family and I did whilst on a camping holiday in the county.
Robert Baden-Powell held his historical camp back in August 1907 for a group of 22 boys from different walks of life. And during the weeks expedition he would teach them activities such as camping, woodcraft, nature observation and of course chivalry. All of which we, as Bushcrafters or outdoorsmen seek an active interest in.
Having struggled to explain the importance of this island to my 5 and 7 year old kids and how my passion for bushcraft may never have happened if it hadn't been for a scouting camp held at this very location over 100 years ago, we decided to just grab our map and venture off into the reserve.

One of the amazing attributes of this beautiful island, is the fact the landscape and views you come across are constantly changing. One minute you are wandering along the small beach, paddling in the water. Then you climb up a shale path into the woods and you are surrounded by breathtaking forests teaming with wildlife. There are lakes and ponds, picturesque view points over the sea, huge lawned areas to play or sunbathe, then back into dense bracken searching for unusual tree art. The kids loved trying to find the painted lines on the trees, then standing in a certain place so that they would line up to create the images.

Of course there is also the actual site where the first of what was to be many scout camps, was held. Along with a small modern purpose built activity centre, where the many visiting Cubs, Scouts, Brownies and Guides of today can spend time learning new skills, as they did back in 1907.
It is just up from here that I found a memorial stone on a raised plateau, which commemorates this historical event. And just standing there looking out at the stunning view, I thought that they couldn't have picked a better spot. It was simply breathtaking and you could see why the great man chose this particular island.
Of great interest to me was the abundance of wildlife and fungi, which I took great delight in showing my 5 year old son, explaining the different insects and trees that were all around us. We have nick named our son The Great Fungi Finder, as he is so low to the ground and is constantly shouting "Dad, fungi". For a while I just thought he looked up to his Daddy as enjoyable to be around. But sadly it was just about the mushrooms !
Our time was nearly up on Brownsea Island, as the ferry was due to dock and take us on the return trip back to the mainland. So we headed off back through the woods as the sun shone through the trees. We had spent a good part of the day just wandering, paddling, sunbathing, exploring, observing the wildlife and simply enjoying our surroundings. I suppose that is exactly what those 22 young lads would have done everyday for a week, back in the August of 1907 and it would have changed their lives forever.
It was shortly after this trip in 1908 that Lord Baden-Powell published "Scouting For Boys" which was to be the beginnings of the Scouting movement and for many people back then, what we think of today as a survival handbook. Many books have been written since by the likes of Ray Mears and Lofty Wiseman and I'm sure that the skills and techniques they now write about are not too dissimilar to what Robert Baden-Powell detailed in Scouting for Boys: A Handbook for Instruction in Good Citizenship
If you are ever visiting this particular area of Dorset, I would strongly advise you to set some time aside to visit Brownsea Island, as it is a magical place that you and your family will always remember. Even if it is just to watch the cheeky red squirrels that are resident here.
Hopefully when my kids (who are now in Cubs) are my age, they will take their children and teach them about the great outdoors, the wonders of nature and the events that happened here all those years ago that have changed young peoples lives, all over the world, for generations.
Me being one of those people...

I have included this short video, which shows you what my family and I got up to whilst visiting Brownsea Island in August 2012 (Not 1907).

Like the clever tree art that appears, like magic, as heart shaped images on the tree's and the cheeky resident red squirrels that thrive here.

Wednesday, 9 January 2013

Nite-Ize CamJam Cord Tightener Review & Test

I Was Very Kindly Sent A Pair Of Nite Ize CamJam Cord Tightener's By Outdoor Accessory Distributor Whitby And Co. And Thought I Would Do A Short Review Then Put The Gear To The Test.

Whitby&Co are based in Kendal, Cumbria. Which as some of you will know is the gateway to the Lake District and just happens to be a short drive up the M6 Motorway for me. They are suppliers to a wide range of markets and industries, from outdoor and camping, hunting and fishing, gift, DIY and agricultural.

They recently contacted me, to ask if they could send some sample products for me to review and these Niteize CamJam Cord Tighteners are the first of my reviews.
I specifically chose this piece of bushcraft gadgetry to review first, as I was already experimenting with different tarp configurations.


Nite-Ize is a product range that a lot of you will be familiar with, if you are involved with outdoor pursuits in any shape or form.

They produce a wide range of innovative products that are aimed at the likes of us. And if you like your gadgets, then Nite-Ize will no doubt have a product for you.

These products range from LED torches (flashlights), tools, rope or cord tensioning systems for many different applications, products for your pets and toys for your kids.

But what you are guaranteed to find with any Nite-Ize product is innovation. Clever ideas that you may not think you need, but when tried, would never be without.


As the name suggests, this is a pair of cord tighteners or rope tensioners that can be used for all manner of tasks, where you would need to apply some sort of tension to secure a load or support a ridge line.
The latter is the application I will be using the CamJam's for and will be playing around with different configurations to find my ideal tarp setup.

You are welcome to watch my full video review later on in this post, showing the Nite-Ize Cord Tighteners in action.


As with any Nite-Ize product the packaging is excellent and the items come delivered to your door with everything you need to get going straight away, plus simple to follow, pictorial instructions that make using the products very easy.

In the case of these CamJam Cord Tighteners an 8ft length of paracord is included with the two clips (As I will continue to call them from here on). The cord that is included is great for playing around with the clips before you venture out and will always come in handy for guylines or lanyards etc. You can never have enough paracord !

As you can see from the photo on the right, there are two sides to the clip. One side shows the hole where the cord is fed through and the small channel which allows the cord to sit neatly when in situ.
And the other side which shows the knurled cam which pivots creating the appropriate gap, depending on the size of paracord you are using. Nite-Ize have recommended cord between 2mm (1/162) - 5mm (3/16") and is clearly stated on both the packaging and the clips themselves (In case you forget).

The clips are made from durable plastic and have a metal spring clasp which sits into a small notch in the plastic clip, ensuring your cord doesnt come loose. Each clip measures 7cm x 3.5cm and weighs just 16g (0.5oz). The whole package, including both CamJam Cord Tighteners and 8ft (2.4m) of cord, still only weighs 49g.
To use the Nite-Ize Cord Tighteners, simply pass your chosen paracord through the hole in the back of the clip, then pull the cord down through the gap between the knurled cam and the clip body. The cam will then pivot to automatically re-size the gap to the gauge of cord. And when the cord has any tension placed upon it the knurled cam then bites into the cord, securing it firmly in place. If you need to adjust or place more tension on the cord, simply lift the cord up, releasing it from the grasp of the cam, pull more cord through the hole and re-tension as already mentioned.
The suggested size of paracord to use with the CamJam Cord Tighteners is 2mm - 5mm (as highlighted on the clip itself), but I think that is just a guideline, as I have tried 9mm paracord with this clip and as you can see from the photo, fits quite well and the knurled cam still operates as required to secure the paracord when under tension. These clips are not designed to hold any considerable weight i.e A Person, so Im sure the cam will not fail due to incorrect size of paracord. But that is just my view.
As mentioned earlier in the post, there is a channel moulded into the reverse side of the clip, just where the paracord is fed through. And although only a subtle design feature, In my mind is very clever and allows the cord to sit neatly in position and also reduces the amount of movement in the cord when under tension (i.e It wont slip around as much in windy conditions)
So far, I have to say I am very impressed with the Nite-Ize CamJam Cord Tighteners. The quality of the product, looks and feels good. The packaging is good, with clear pictorial instructions and the staff at Whitby&Co have been helpfull and curtious in all correspondence I've had with them.

But the proof of the pudding all comes down to a successful field test, so its off into the woods to experiment with a few tarp configurations.

A detailed review and demonstration are highlighted in the video below :


Tuesday, 8 January 2013

Using A Tarp Or Basha With The Handy Hammock

 
I Recently Wrote A Post On The Much Talked About Handy Hammock, Including The Associated Video Review. And Briefly Mentioned Trying A Tarp Or Basha In Conjunction With The Hammock. I Have Now Tried This And Here Are My Findings.
Back in October I wrote a blog post regarding the UK designed Handy Hammock, which is the lightest self supporting hammock in the world. I was lucky enough to be sent one to try out and as you will see in the video review I did, I was very impressed with it.
However, this particular design of hammock was mainly aimed at the beach, garden users, due to the reason you can pitch the hammock without the need for two tree's. And as we are bushcrafters spending a lot of our time in woodland, it goes without saying there are usually ample tree's to chose from for a typical hammock or tarp setup.

But that doesn't mean we should dismiss this innovative design. In the appropriate situation, this hammock could be a great asset to any outdoors mans (or womans) kit. And with the addition of a suitable shelter, like a tarp or basha, it soon becomes an alternative and fun way to sleep or relax outdoors, without being affected by the elements.
Now I already knew that the guys at Handy Hammocks were working on a prototype canopy that would custom fit the current setup. But as it wasn't yet available for general release, I decided to have a play around myself, with an old British army basha.

Once I had erected the Handy Hammock in the comfort of my own garden (TIP: Always test out your new gear or ideas in your garden before venturing out into the field) it didn't take long to realise that it would be a relatively simple conversion of various items, to put together a form of shelter for the hammock. The British army basha was the perfect length to stretch between the ends of the supporting struts.
And with the addition of a couple of karabiners and a few short lengths of paracord, the basic shelter was set up.

All that remained now was to peg out the corners using bungees. This worked fine, but due to the ridge line of the tarp (not an actual paracord ridge line) being so low to the hammock, it didn't leave much head room under the tarp. Ideal for heavy rain, but in finer weather would have been a little restrictive. So a couple of walking poles attached to the side loops of the tarp soon sorted that out, raising the headroom underneath to a more acceptable level.

As I mentioned earlier in the post, the guys at Handy Hammock are working on a prototype canopy, which they are in the process of fine tuning, to get it just right. But as you can see from their photo, the concept is both innovative and fit for purpose. I for one am looking forward to trying one of these canopies on my Handy Hammock, when they are released for general sale in 2013.
That said, although not the prettiest of setups, I would be more than confident to spend a night or two using the Handy Hammock, in conjunction with an appropriate tarp or British army basha. Knowing that I would get some degree of protection from the rain, if required. This setup won't in any way be as good or replace the canopy concept that we eagerly await from Handy Hammocks, but for me will do for now and I enjoyed playing around with the different ideas.


Monday, 7 January 2013

Homemade Bushcraft & Backpacking Kit Using Recycled Rubbish

If You Are Just Starting Out In Bushcraft, Don't Have Any Disposable Income For Buying New Kit Or Just Want To Make Some Cheap And Lightweight Backpacking Gear, I Can't Think Of Anything More Rewarding Than Making Your Own Homemade Bushcraft Gear Out Of Things You Would Normally Throw Away
I don't know about you, but I always get a good sense of satisfaction when I cobble something together out of old odd and ends, that would otherwise be trashed. And in today's climate, if you can recycle anything into something re-usable, it has to be a positive thing, right ?
So what exactly can we make out of our old food tins, pop or soda cans and cardboard drinks containers ?

The first item that springs to mind and one that I have used on numerous occasions is the humble bean tin. This readily available piece of rubbish can be modified to suit many a bushcraft situation. Whether it be a small billy can for boiling water, a simple hobo stove or meths style alcohol burner. All of which could be used together as a budget diy cook set.

Another commonly used item of rubbish, that we simply throw in the bin once the contents have been consumed is a pop, soda or beer can. These are great for making cheap (very cheap) and lightweight alcohol stoves, ideal for brewing up when out on the trial. They hold just enough meths (Denatured alcohol) for a good rolling boil on a decent size billy can or suitable cup, like the BCB Crusader mug. Popcan stoves are really easy to make and there are many video tutorials on how to do this. I remember the first one I ever made and the satisfaction I got from filling it up with fuel, lighting it and boiling my first pan of water. These make a great backpacking stove, due to their weight and size and can be used in conjunction with all manner of kit you may already have.

So you've got your bean tin billy can and popcan fuel burner. All you need now is a windshield/pot stand for your burner to sit in and billy can to sit on. It's possible to place a suitable billy can directly on top of the popcan stove. But I decided to make my own multi-use potstand, which could also be used to take heat gel or hand cleanser, which also makes a good source of fuel for your burner. I made this using an old tuna can and some stiff wire, to create some retractable arms.

The beauty of this little cook set, that we have put together for little or no money, is the fact that it all fits conveniently inside one another, creating a small and compact unit. And that's the great thing about making your own bushcraft kit out of recycled rubbish. You can pick and choose what items you want to use to create your diy gear, depending on size or shape. If one type of tin can doesn't fit in with your setup, chuck it away, have another rummage in the bin until you find one that does.
Cardboard drinks or juice cartons are another great source of trash that can be recycled into cups or water carriers. And the clever thing about cardboard packaging is that it can be flattened when not full of liquid, taking up less room in your pack. Also, they are much lighter than any plastic or stainless steel water bottle you may have.
I realise that this application of a cup/water carrier isnt as robust as the plastic or stainless containers, but they do work (See Video Demo Below), cost nothing and may get you out of a tricky situation. Water can be vital in a survival situation so any means of collecting it is a bonus.
 

So, there we have it... A few ideas to get you rummaging around in your dustbins at home, to gather enough recyclable items together, enabling you to make your own homemade diy bushcraft gear.If you are looking to make lightweight stoves or associated kit for backpacking, here are a few other budget bushcraft ideas you may want to try :
Budget Bushcraft Collapsible Water Bottle
DIY Trangia Burner Potstand
How To Make A Bushcraft Candle - Insect Repellent Version
DIY Meths Burner Potstand